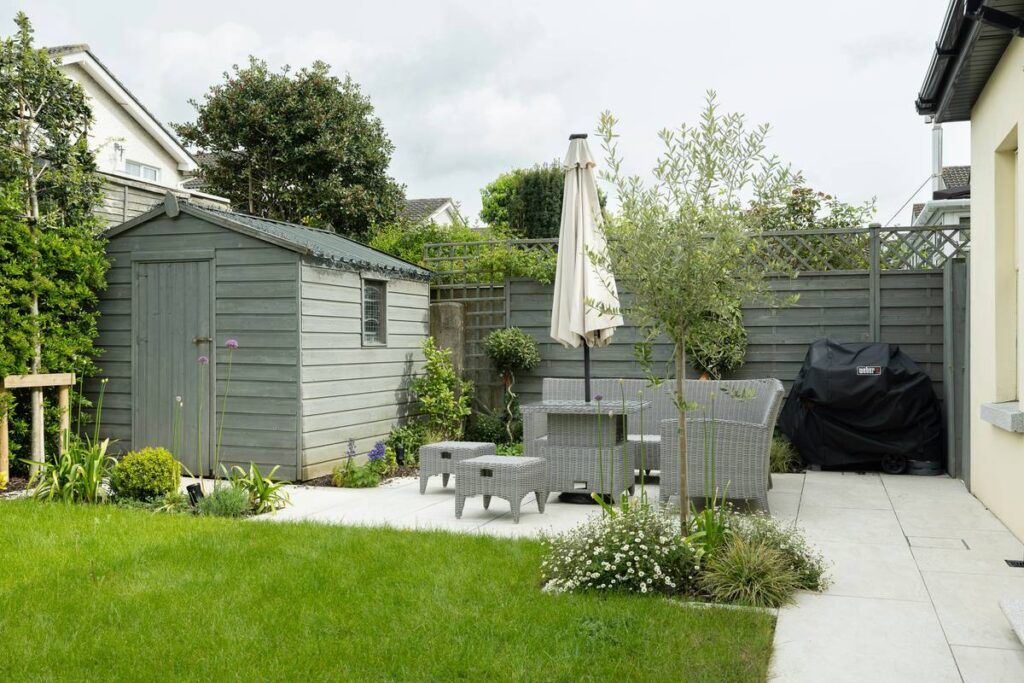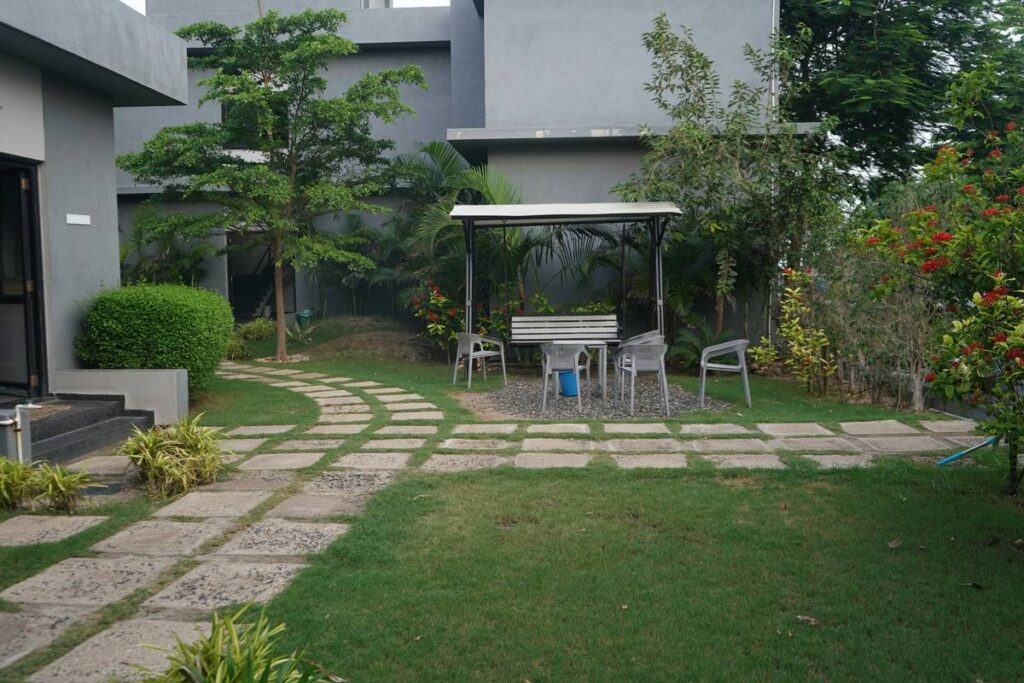
If you’ve ever stared at your backyard wondering how to transform it from bland to beautiful, you’re not alone. Many homeowners dream of lush green spaces but get stuck on the first step: actually figuring out how to put in a garden. It’s more than just tossing seeds into dirt—it’s about planning, materials, and knowing what pitfalls to dodge. In this guide, we’ll focus specifically on integrating garden tables—often overlooked yet central to outdoor enjoyment—and walk you through a stress-free process backed by real-world testing (and one very muddy mistake I won’t repeat).
Table of Contents
- Why Garden Planning Matters in Home Improvement
- Step-by-Step Guide to Installing Your Garden
- Top Best Practices for Long-Lasting Outdoor Spaces
- Real-World Examples That Work
- Frequently Asked Questions
Key Takeaways
- Start with layout and function—don’t buy a garden table before mapping your space.
- Soil prep and drainage are non-negotiable for plant health and furniture stability.
- Choose materials like teak or powder-coated aluminum for weather resistance.
- Avoid common DIY errors like skipping sun-path analysis or ignoring local zoning rules.
Why Garden Planning Matters in Home Improvement
Here’s the truth: slapping down a few potted plants and calling it a day rarely lasts. Without thoughtful planning, your garden becomes a maintenance nightmare—or worse, damages your property value. According to the National Association of Realtors, well-designed landscaping can boost home value by up to 12.4%. But that only applies when elements like seating areas integrate seamlessly.
I learned this the hard way. Years ago, I installed a heavy cast-iron garden table right over compacted clay soil. Within two rainy seasons, the legs sank unevenly, creating a wobbly hazard that ruined every dinner party. The fix? Full excavation and gravel base—something I could’ve avoided with 30 minutes of upfront planning.

Step-by-Step Guide to Installing Your Garden
1. Map Your Space and Sun Exposure
Use a free app like Sun Surveyor or simply observe your yard at 9 AM, noon, and 3 PM for three days. Note shaded zones—this dictates where shade-tolerant plants go and where your garden table will get afternoon glare (or welcome dappled light).
2. Define Zones: Seating, Planting, Pathways
Sketch a rough layout. Place your garden table away from high-traffic paths to avoid tripping. Leave at least 36 inches of clearance around all sides for chair movement.
3. Prepare the Ground
Remove sod, loosen soil to 8–12 inches deep, and amend with compost. For furniture areas, lay landscape fabric topped with 2–3 inches of crushed stone. This prevents weeds and provides drainage—critical for wooden or metal table legs.
4. Choose and Position Your Garden Table
Pick materials suited to your climate. Coastal areas? Go marine-grade aluminum. Humid regions? Opt for sustainably sourced teak. Position the table so conversation flows toward your best view—not the neighbor’s garage.
5. Install Plants Around (Not Under) Seating
Avoid planting directly beneath your table—watering and root growth destabilize the base. Instead, use raised beds or container gardens at the perimeter.
6. Add Lighting and Final Touches
Solar path lights or low-voltage string lights enhance usability after dusk without complex wiring.
Top Best Practices for Long-Lasting Outdoor Spaces
- Test soil pH first: Most ornamentals thrive at 6.0–7.0. Use a $10 kit from your local nursery.
- Elevate furniture slightly: Even “weatherproof” tables benefit from small risers to prevent moisture pooling.
- Check HOA or municipal codes: Some towns restrict garden structures over certain heights or square footage.
- Never skip mulch: A 2-inch layer reduces weeds by 80% and conserves water (per U.S. Forest Service data).
And here’s a terrible tip I’ve heard too often: “Just buy the cheapest patio set online.” Big mistake. Flimsy resin cracks in freeze-thaw cycles, and particleboard swells when wet. Invest in quality—you’ll replace it less often.
Real-World Examples That Work
Last spring, we helped redesign a client’s 20×30 ft backyard in Wading River, NY. Their main request? “I want to host dinners without bugs or wobbling tables.” We installed a powder-coated steel garden table on a stabilized gravel pad, surrounded by lavender and marigolds (natural pest deterrents). Six months later, they reported zero maintenance issues and hosted 14 gatherings. Soil tests confirmed pH at 6.7—ideal for their chosen perennials.
This approach aligns with principles from Cornell University’s gardening extension program, which emphasizes function-first design for Northeastern climates. By prioritizing drainage and material durability, homeowners avoid the “install-and-regret” cycle.
For more on our philosophy, see our About Us page—we’ve been refining outdoor living solutions since 2008.
Frequently Asked Questions
What’s the easiest way to learn how to put in a garden?
Start small: convert a 4×4 ft patch into a container herb garden with a bistro table. Master basics before scaling up. Our team offers free lot assessments for local homeowners.
Can I install a garden table on grass?
Temporarily, yes—but long-term, grass compacts under weight, causing sinking. Always use a base layer of gravel or pavers.
How much does it cost to put in a garden?
DIY setups range from $300 (basic containers + thrifted table) to $3,000+ for hardscaping and custom furniture. Labor adds 20–40% if hiring pros.
Do I need permits?
Generally no for planting, but check local rules if adding permanent structures like pergolas or raised beds over 2 ft tall.
What materials last longest for garden tables?
Teak, aluminum, and concrete-top steel frames outperform wood composites in humid or coastal zones. Avoid untreated pine—it rots within two seasons.
How do I maintain my garden year-round?
Clean table surfaces monthly, store cushions indoors during storms, and refresh mulch each spring. Review our full guidelines in the Privacy Policy-aligned care sheet (we never sell your data).
Gardens aren’t just planted—they’re thoughtfully built. When you nail the foundation (literally), every meal outdoors feels like a reward. Ready to stop dreaming and start digging? Contact us today for a personalized plan.
Roots down, chairs up.